从头开始在树莓派上搭建seafile私有云
摘要:安装系统、设置远程连接、安装软件包、设置防火墙、安装docker、安装seafile
准备工作
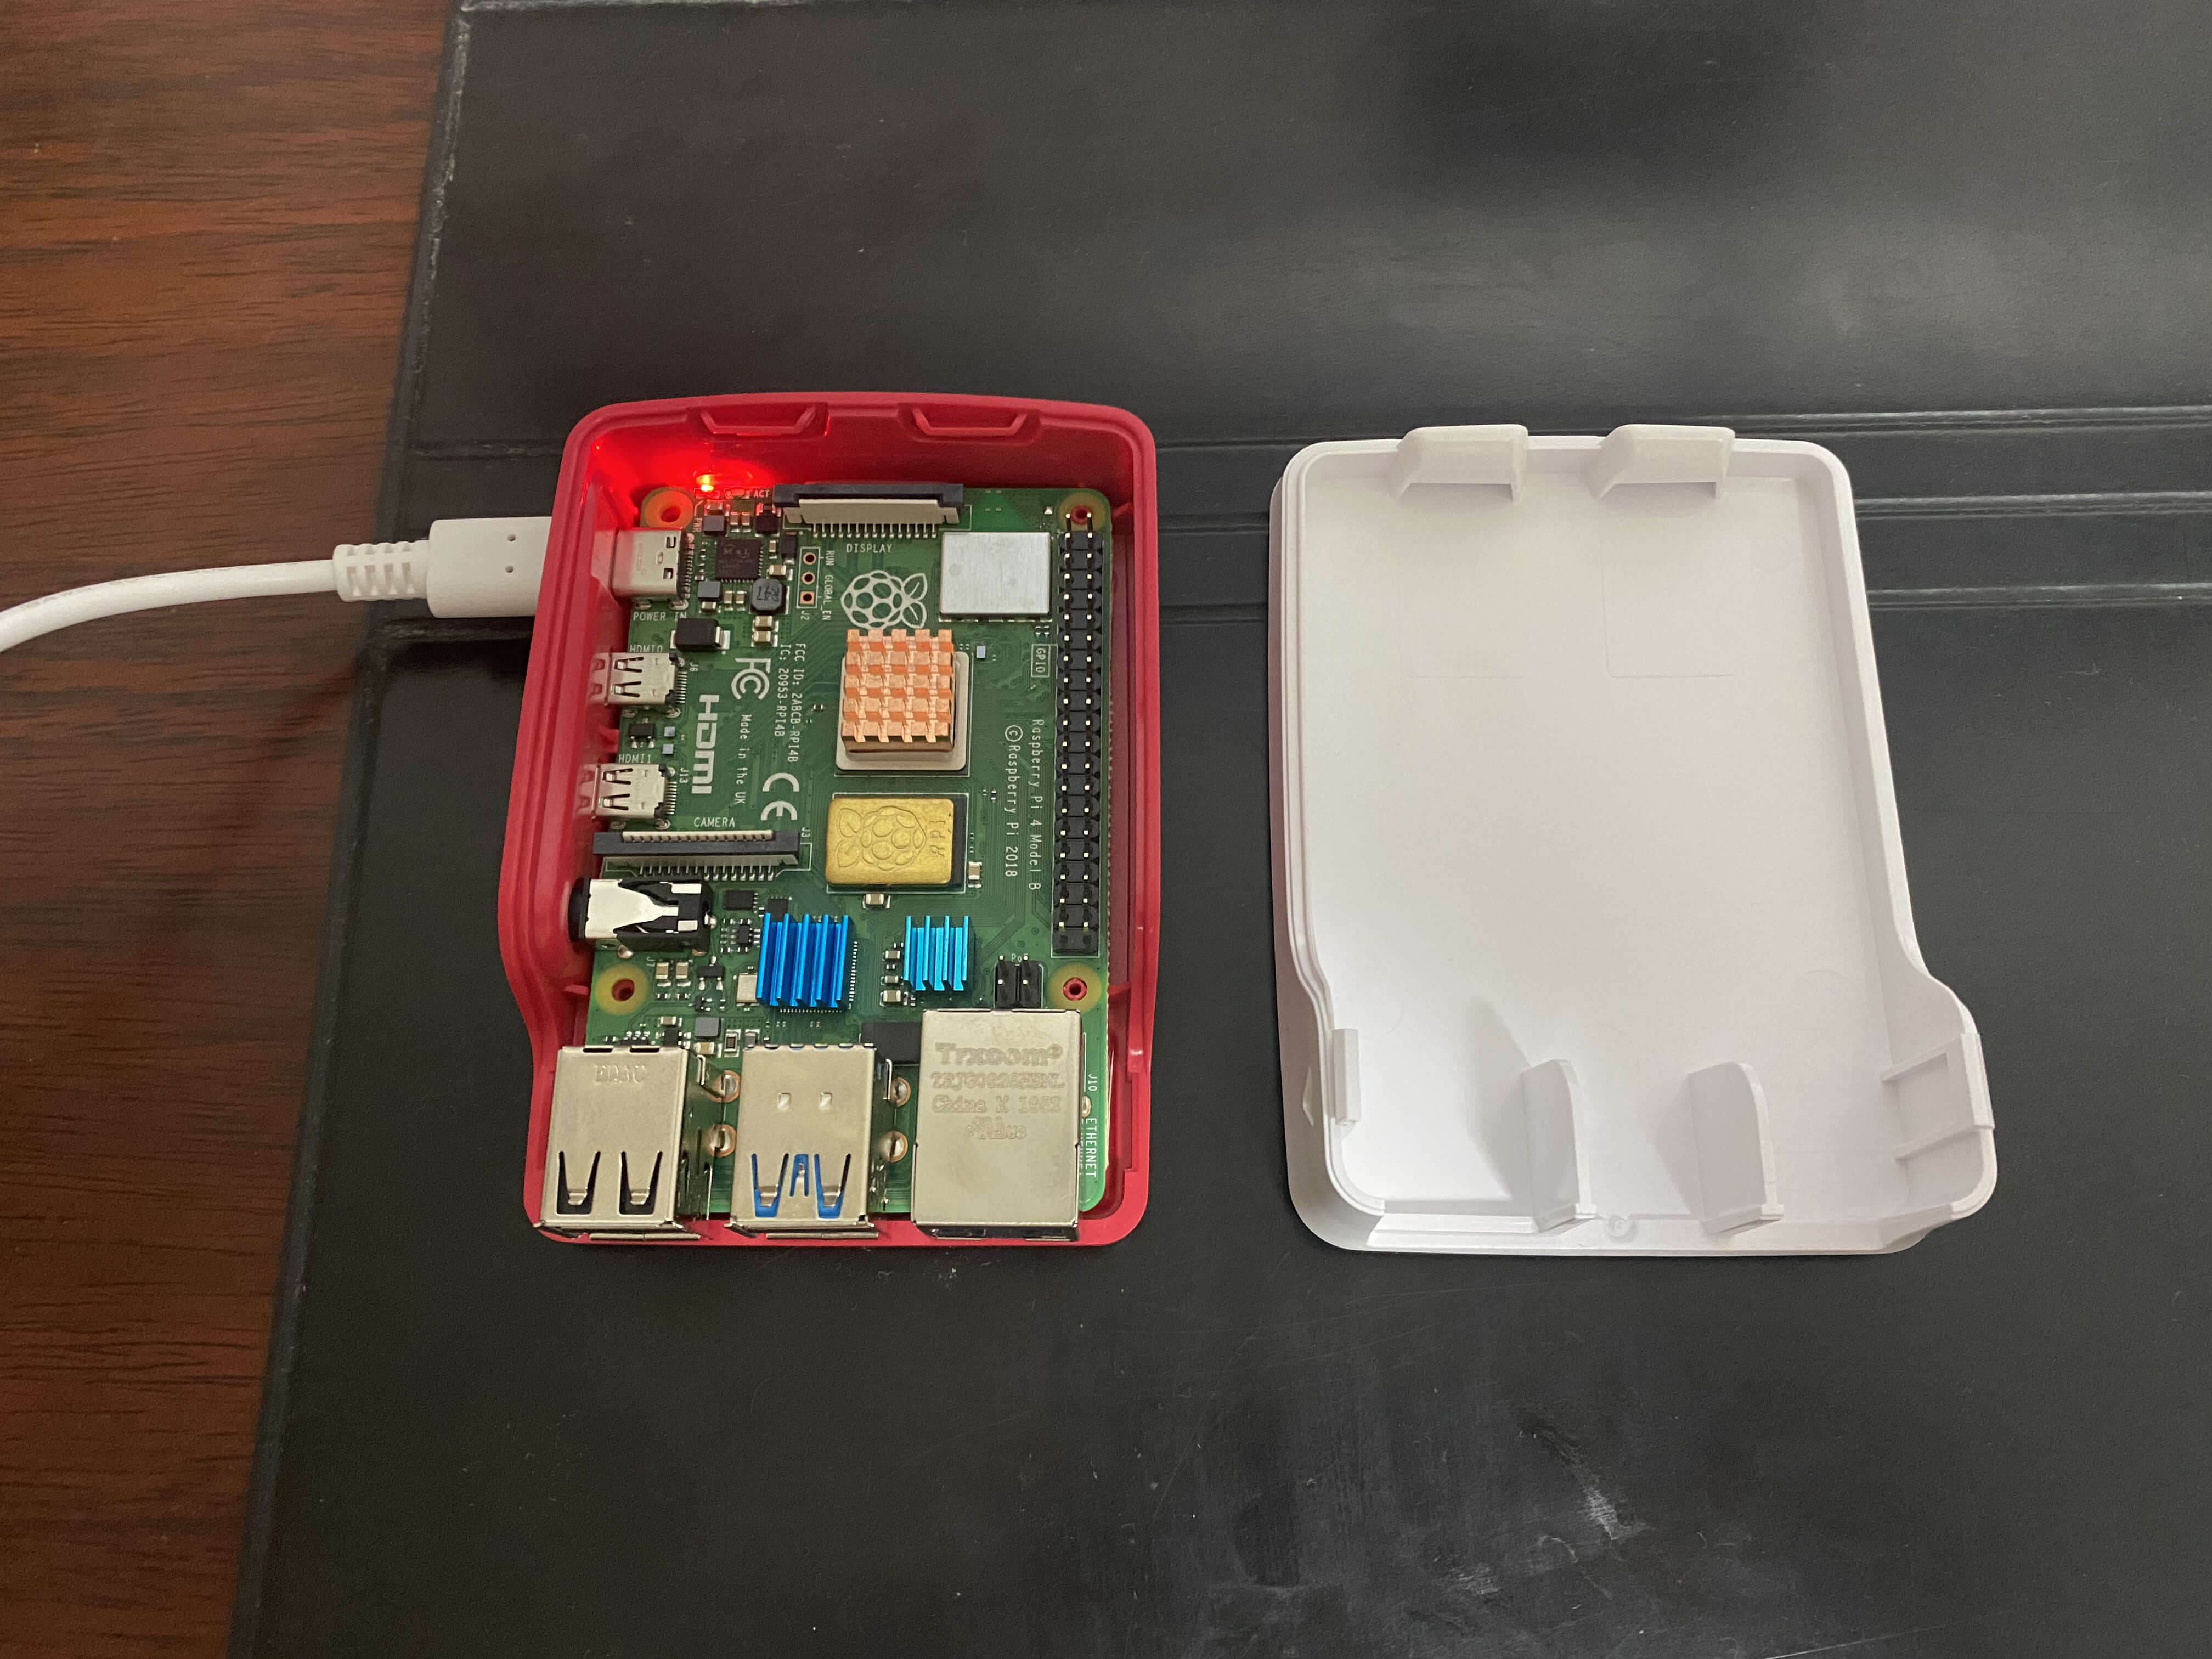
- 树莓派主板(装好散热片或散热外壳)
- SD卡
- 电源
- 电脑
安装系统
Raspberry Pi OS (previously called Raspbian) 树莓派官方系统下载地址:https://www.raspberrypi.org/downloads/
Raspberry Pi OS (64 bit) beta test version 下载地址:https://www.raspberrypi.org/forums/viewtopic.php?f=117&t=275370
(目前官方还没有出64位系统的正式版本)
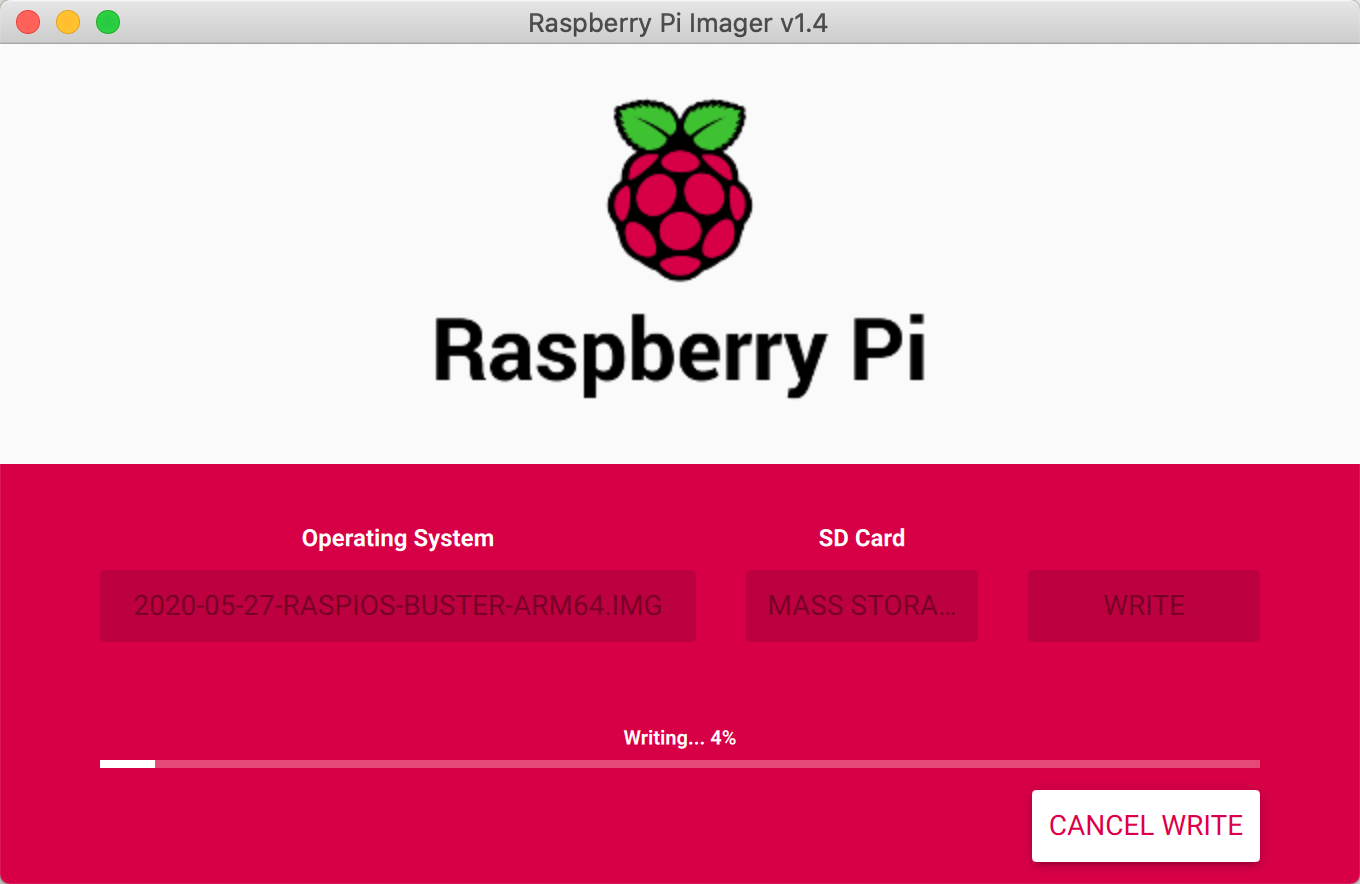
将SD卡通过读卡器连接到你的电脑上,使用官方的工具(Raspberry Pi Imager)往SD卡中烧录系统。
设置自动连接WiFi
在电脑上打开SD卡,在/boot目录中创建文件wpa_supplicant.conf,文件内容如下
1 | country=CN |
扩展配置
1 | # 如果你的 WiFi 没有密码 |
启用SSH
在电脑上打开SD卡,在/boot目录中创建一个名为ssh的空文件即可。
开机使用
将SD卡插到树莓派上,将树莓派连接到电源,它会自动开机。等两分钟左右,在电脑上访问路由器管理界面,查到树莓派的ip地址,通过ssh进行连接。
注: 初始用户:pi , 初始密码: raspberry
1 | ➜ ~ ssh pi@192.168.0.108 |
启用root账号
1 | # 修改root密码 |
使用root账号进行ssh登录
修改ssh的配置文件
1 | vim /etc/ssh/sshd_config |
将配置项PermitRootLogin without-password修改为
1 | PermitRootLogin yes |
重启sshd服务
1 | systemctl restart sshd |
修改pi账号密码
1 | root@raspberrypi:~# passwd pi |
VNC远程桌面
进入Pi的系统配置程序
1 | sudo raspi-config |
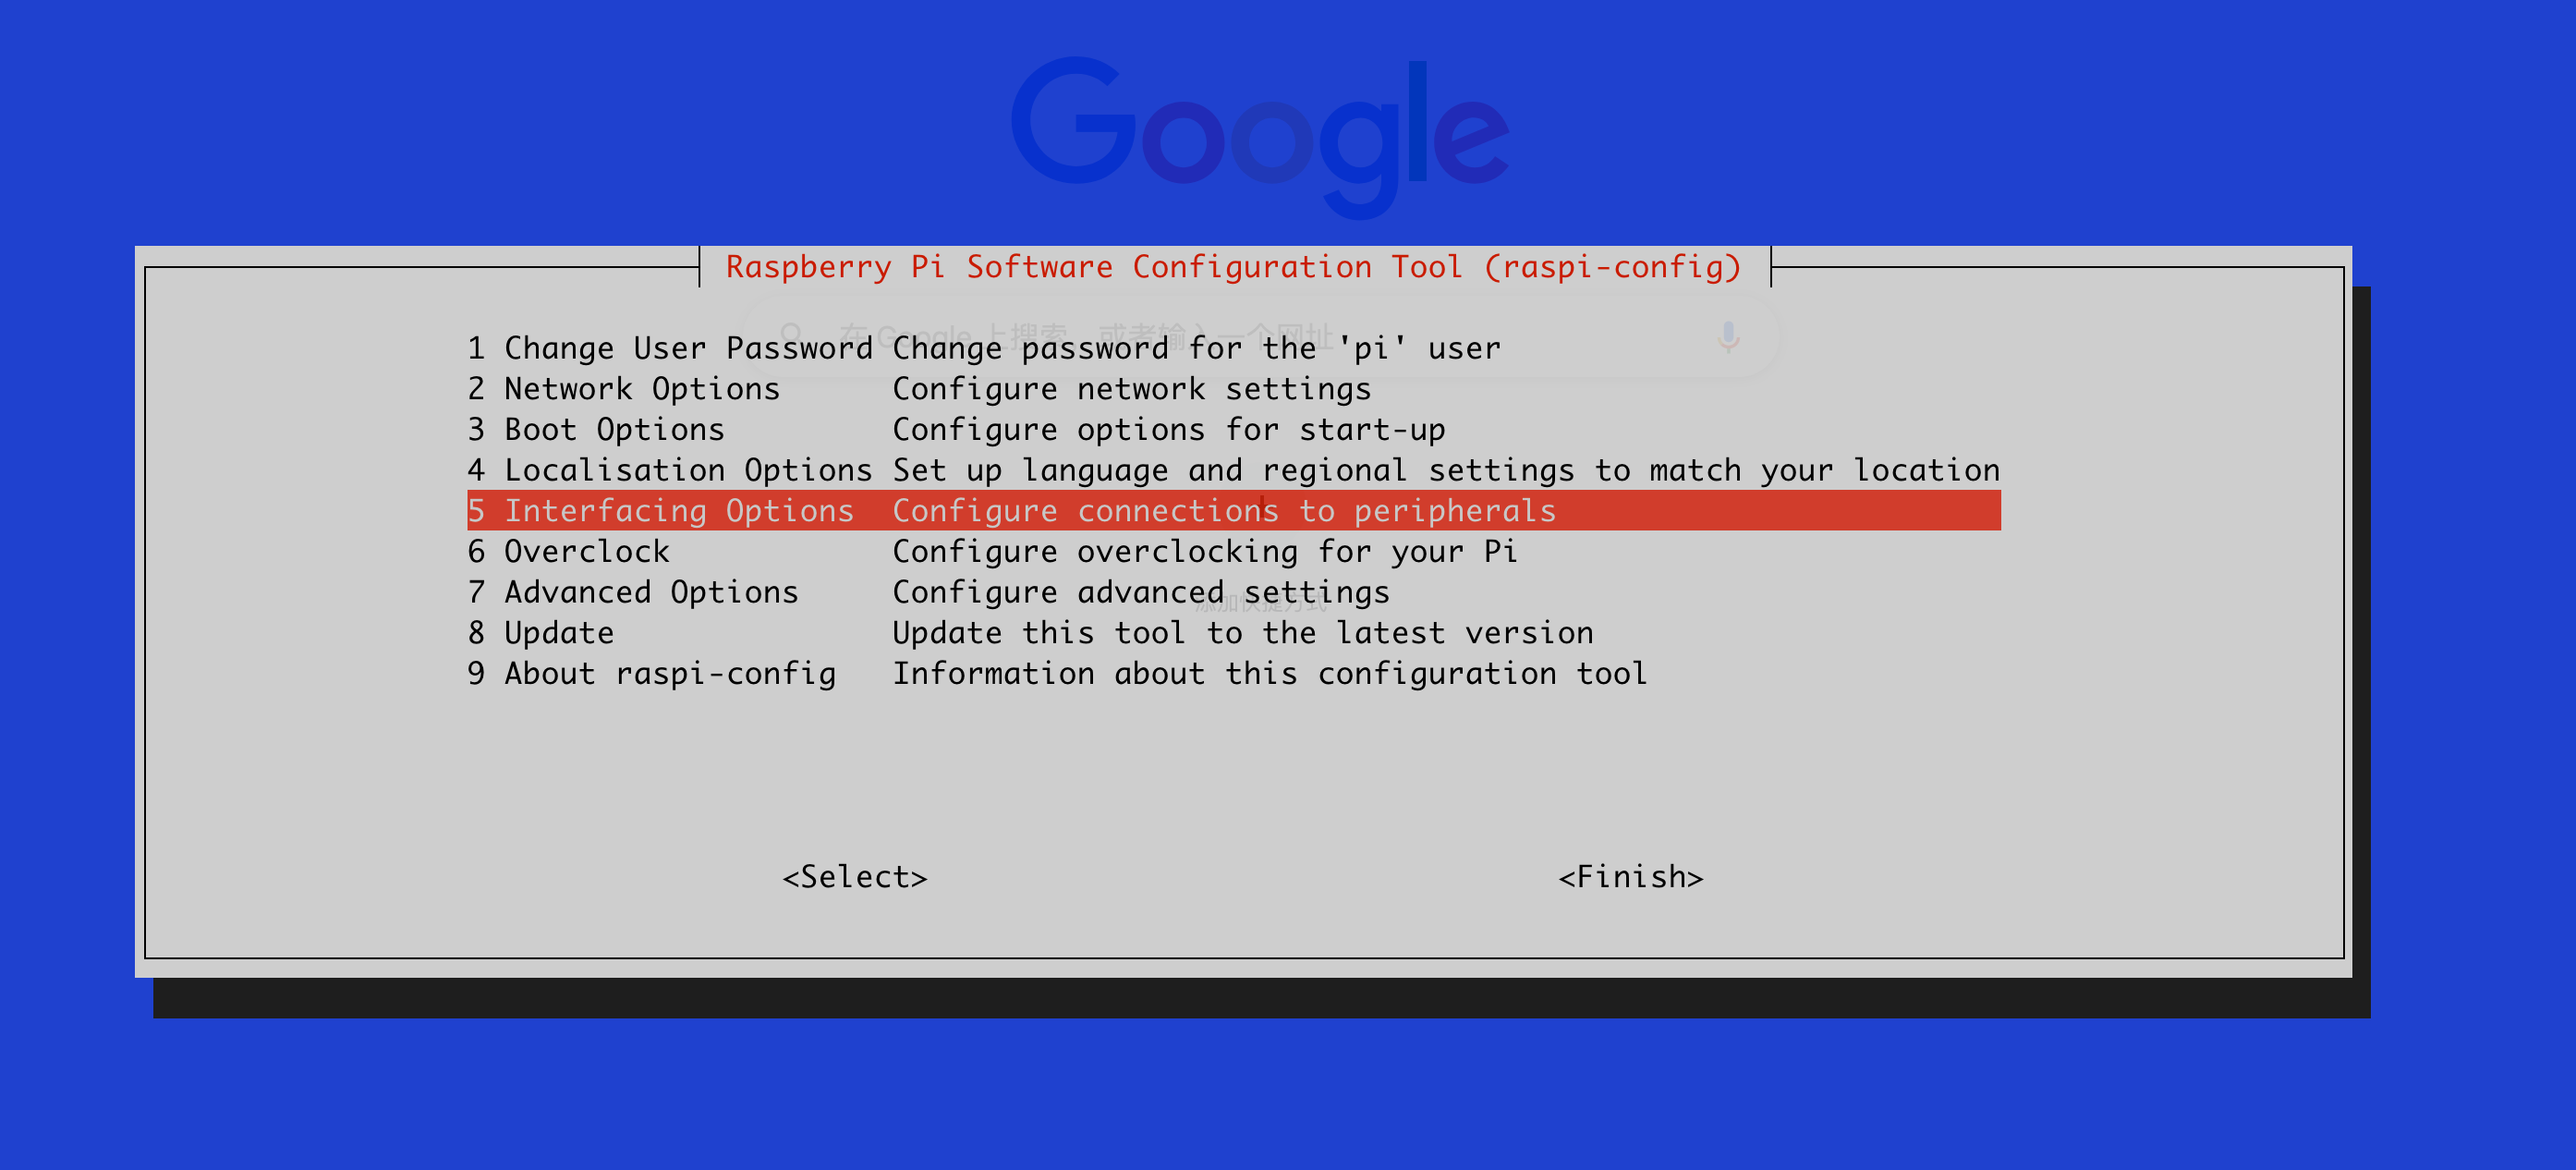
选择第5项:5 Interfacing Options
选择第3项:P3 VNC
出现如下提示时 Would you like the VNC Server to be enabled?
选择 Yes
然后在电脑上访问这个地址下载个远程桌面软件 - VNC viewer https://www.realvnc.com/en/connect/download/viewer/
打开VNC Viewer,输入树莓派的ip地址进行连接
注意:
如果启用VNC时系统提示需要安装一些依赖包,可先不进行安装,因为下载软件会比较慢,先参考下文切换镜像源,再重新开启VNC。
Raspberry Pi OS (64 bit) beta test version 暂不支持VNC
切换国内的软件镜像源
我安装的系统是**Raspberry Pi OS (32-bit)**,参考这个文档修改了以下两个文件
1 | vim /etc/apt/sources.list |
1 | deb http://mirrors.tuna.tsinghua.edu.cn/raspbian/raspbian/ buster main non-free contrib rpi |
1 | vim /etc/apt/sources.list.d/raspi.list |
1 | deb http://mirrors.tuna.tsinghua.edu.cn/raspberrypi/ buster main ui |
然后执行命令更新软件包列表
1 | $ apt-get update |
配置防火墙(iptables)
只开放22、80、443三个端口
1 | iptables -A INPUT -p tcp --dport 22 -j ACCEPT |
关闭所有端口
1 | iptables -P INPUT DROP |
查看防火墙配置
1 | root@raspberrypi:~# iptables -nL --line-number |
配置防火墙(ufw)
安装ufw
1 | apt-get install ufw |
启用并关闭所有外部对本机的访问
1 | ufw enable |
常用命令
1 | # 关闭防火墙 |
安装docker
下载安装脚本
1 | $ curl -fsSL https://get.docker.com -o get-docker.sh |
编辑脚本,找到mirrors部分,增加清华大学的镜像源,修改后的文件如下:
1 | ... |
指定镜像进行安装
1 | $ sh get-docker.sh --mirror Tsinghua |
切换docker国内镜像地址
1 | $ vim /etc/docker/daemon.json |
1 | { |
1 | $ systemctl restart docker |
注:只重启docker可能会不生效,重启树莓派再试
安装seafile
docker-compose方式安装文档:https://cloud.seafile.com/published/seafile-manual-cn/docker/%E7%94%A8Docker%E9%83%A8%E7%BD%B2Seafile.md
安装docker-compose
1 | $ apt-get install -y docker-compose |
下载并修改docker-compose.yml文件
启动
1 | $ docker-compose up -d |
最后
折腾了半天,seafile启动失败了。。。先睡觉,明天再看吧。
1 | root@raspberrypi:/opt/seafile# docker-compose up -d |
后续
上面安装seafile失败的原因是:seafile官方的docker镜像是基于amd64架构的,而我的树莓派4b安装的系统是Raspberry Pi OS (64 bit) beta test version ,是aarch64的,系统不兼容。
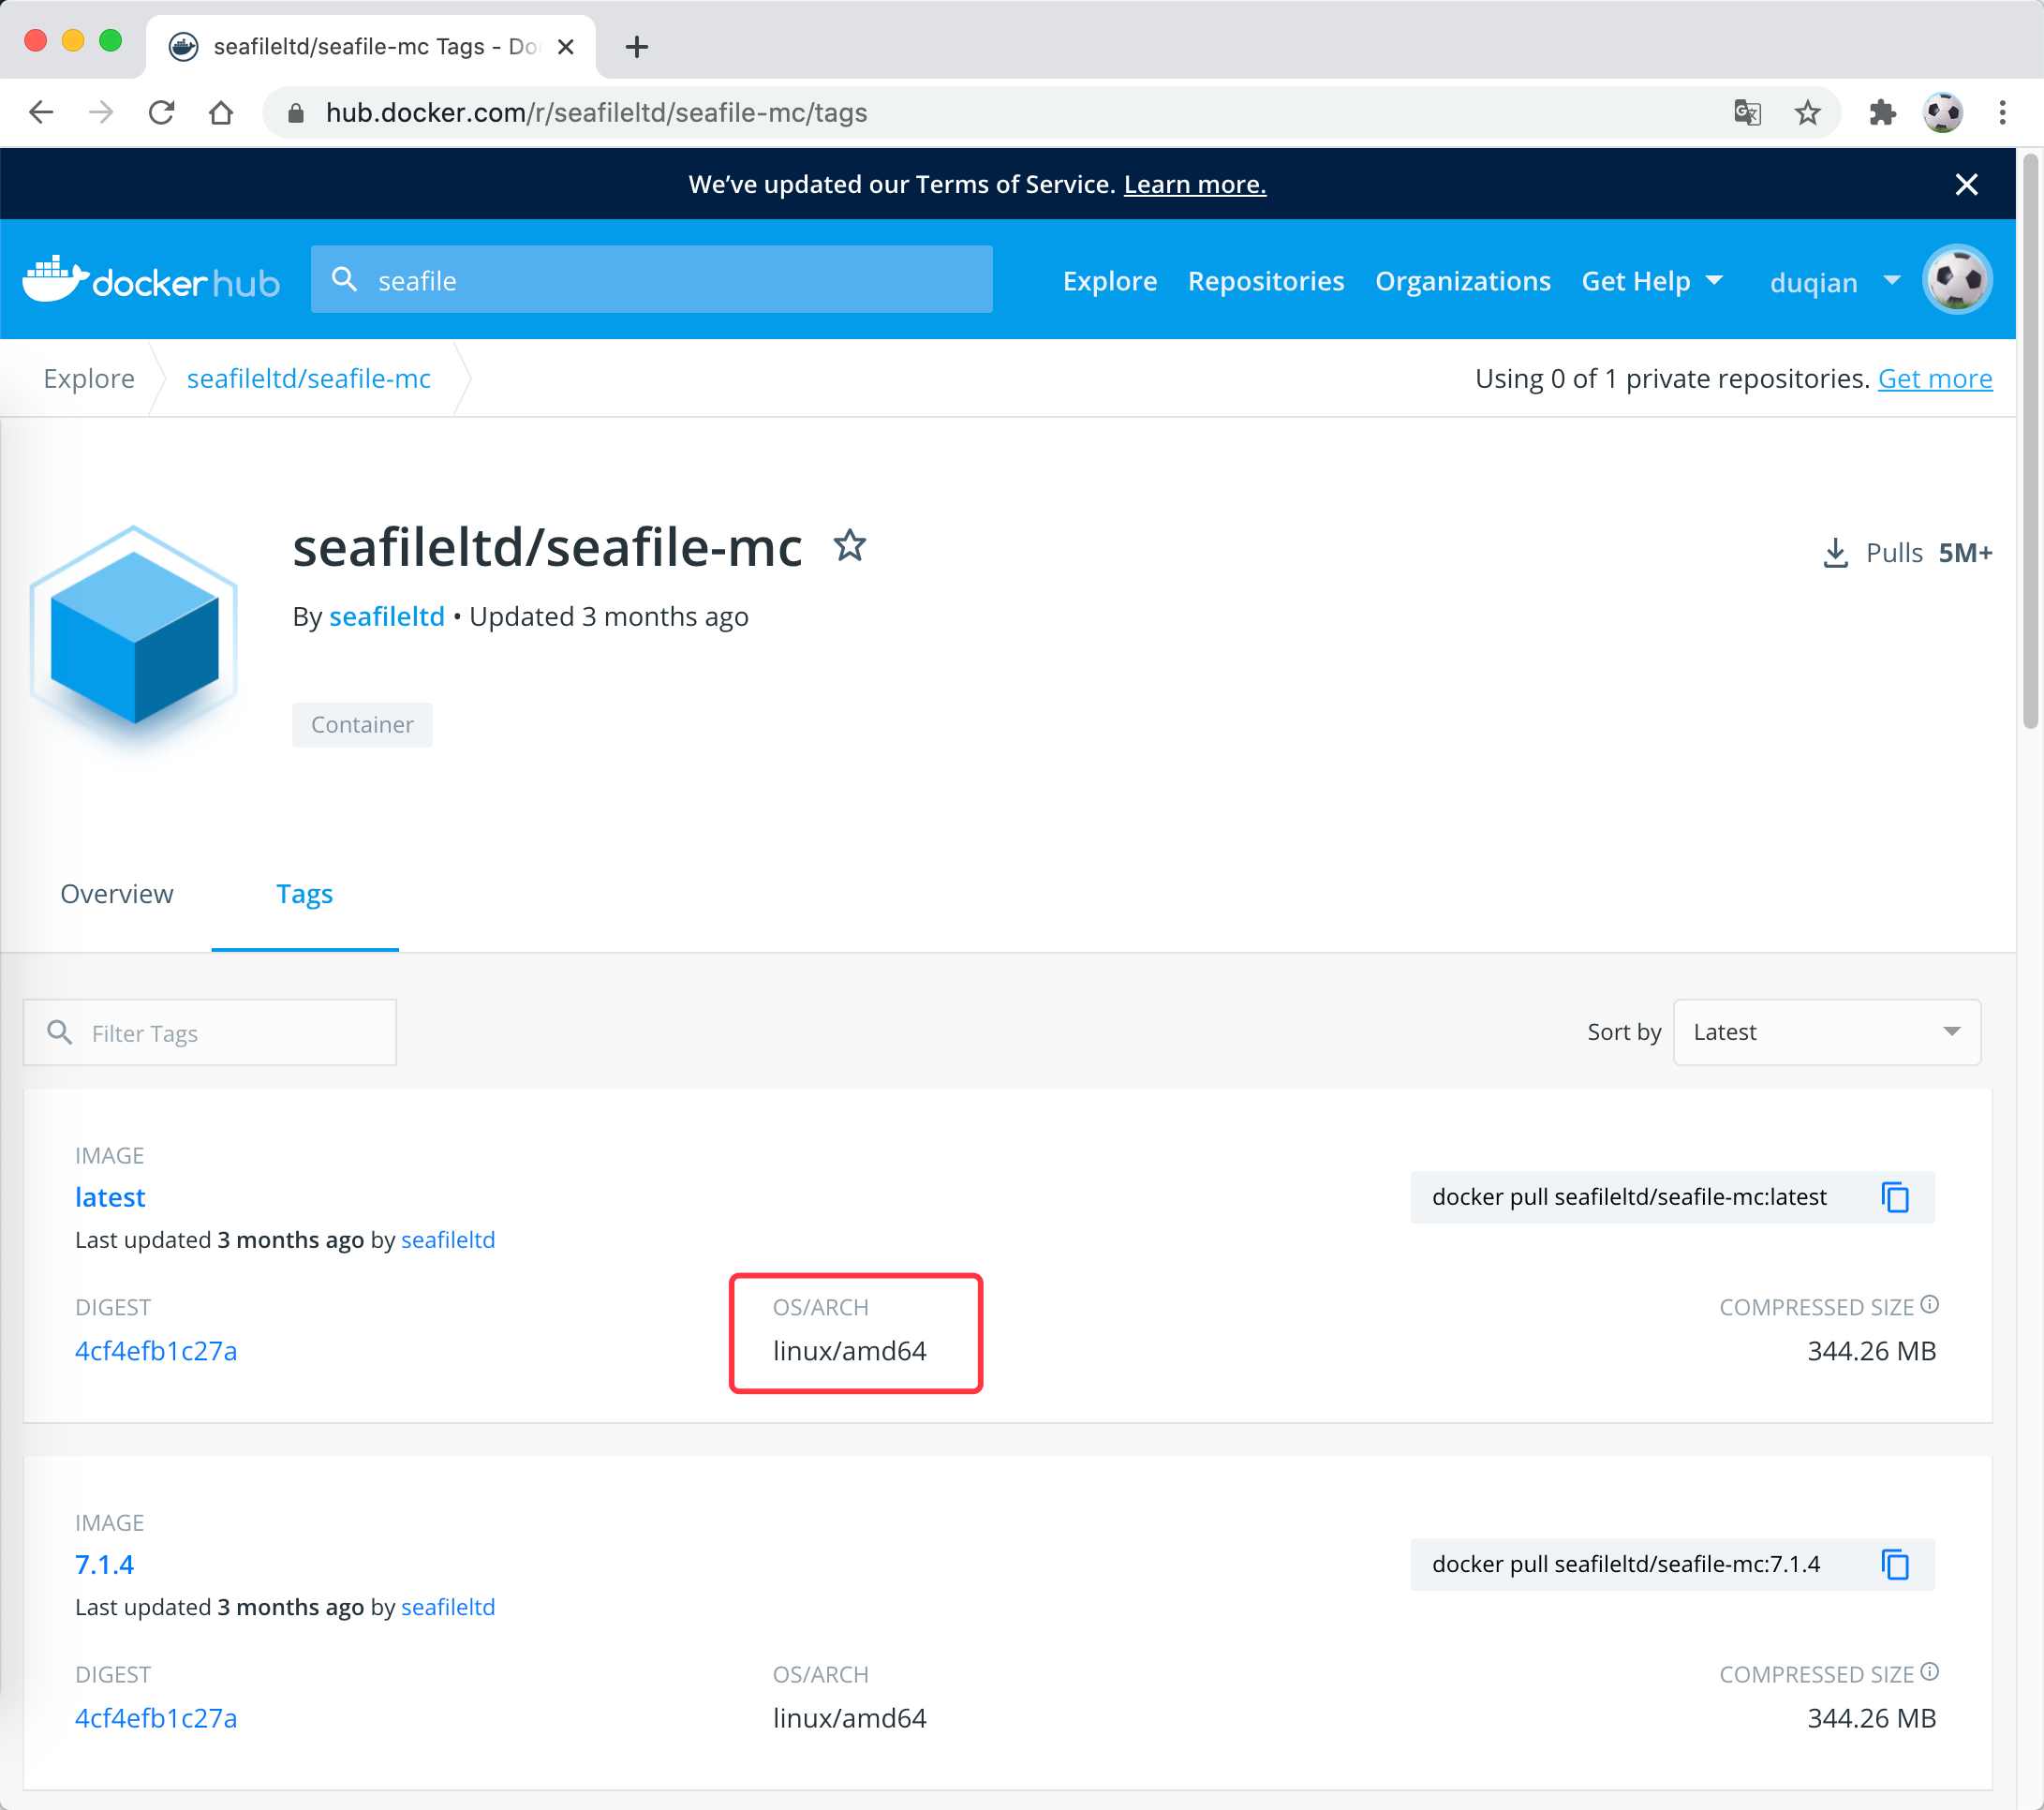
后来我又尝试安装seafile的树莓派专用版本,又遇到了一些问题,因为seafile的树莓派版本是32位的软件。
然后我又重新刷了树莓派系统,刷成了**Raspberry Pi OS (32 bit)**,再次安装seafile的树莓派版本才最终成功。
不过用32位的系统也有坑,就是好多软件已经慢慢不支持32位系统了,希望官方早点出64位系统正式版。
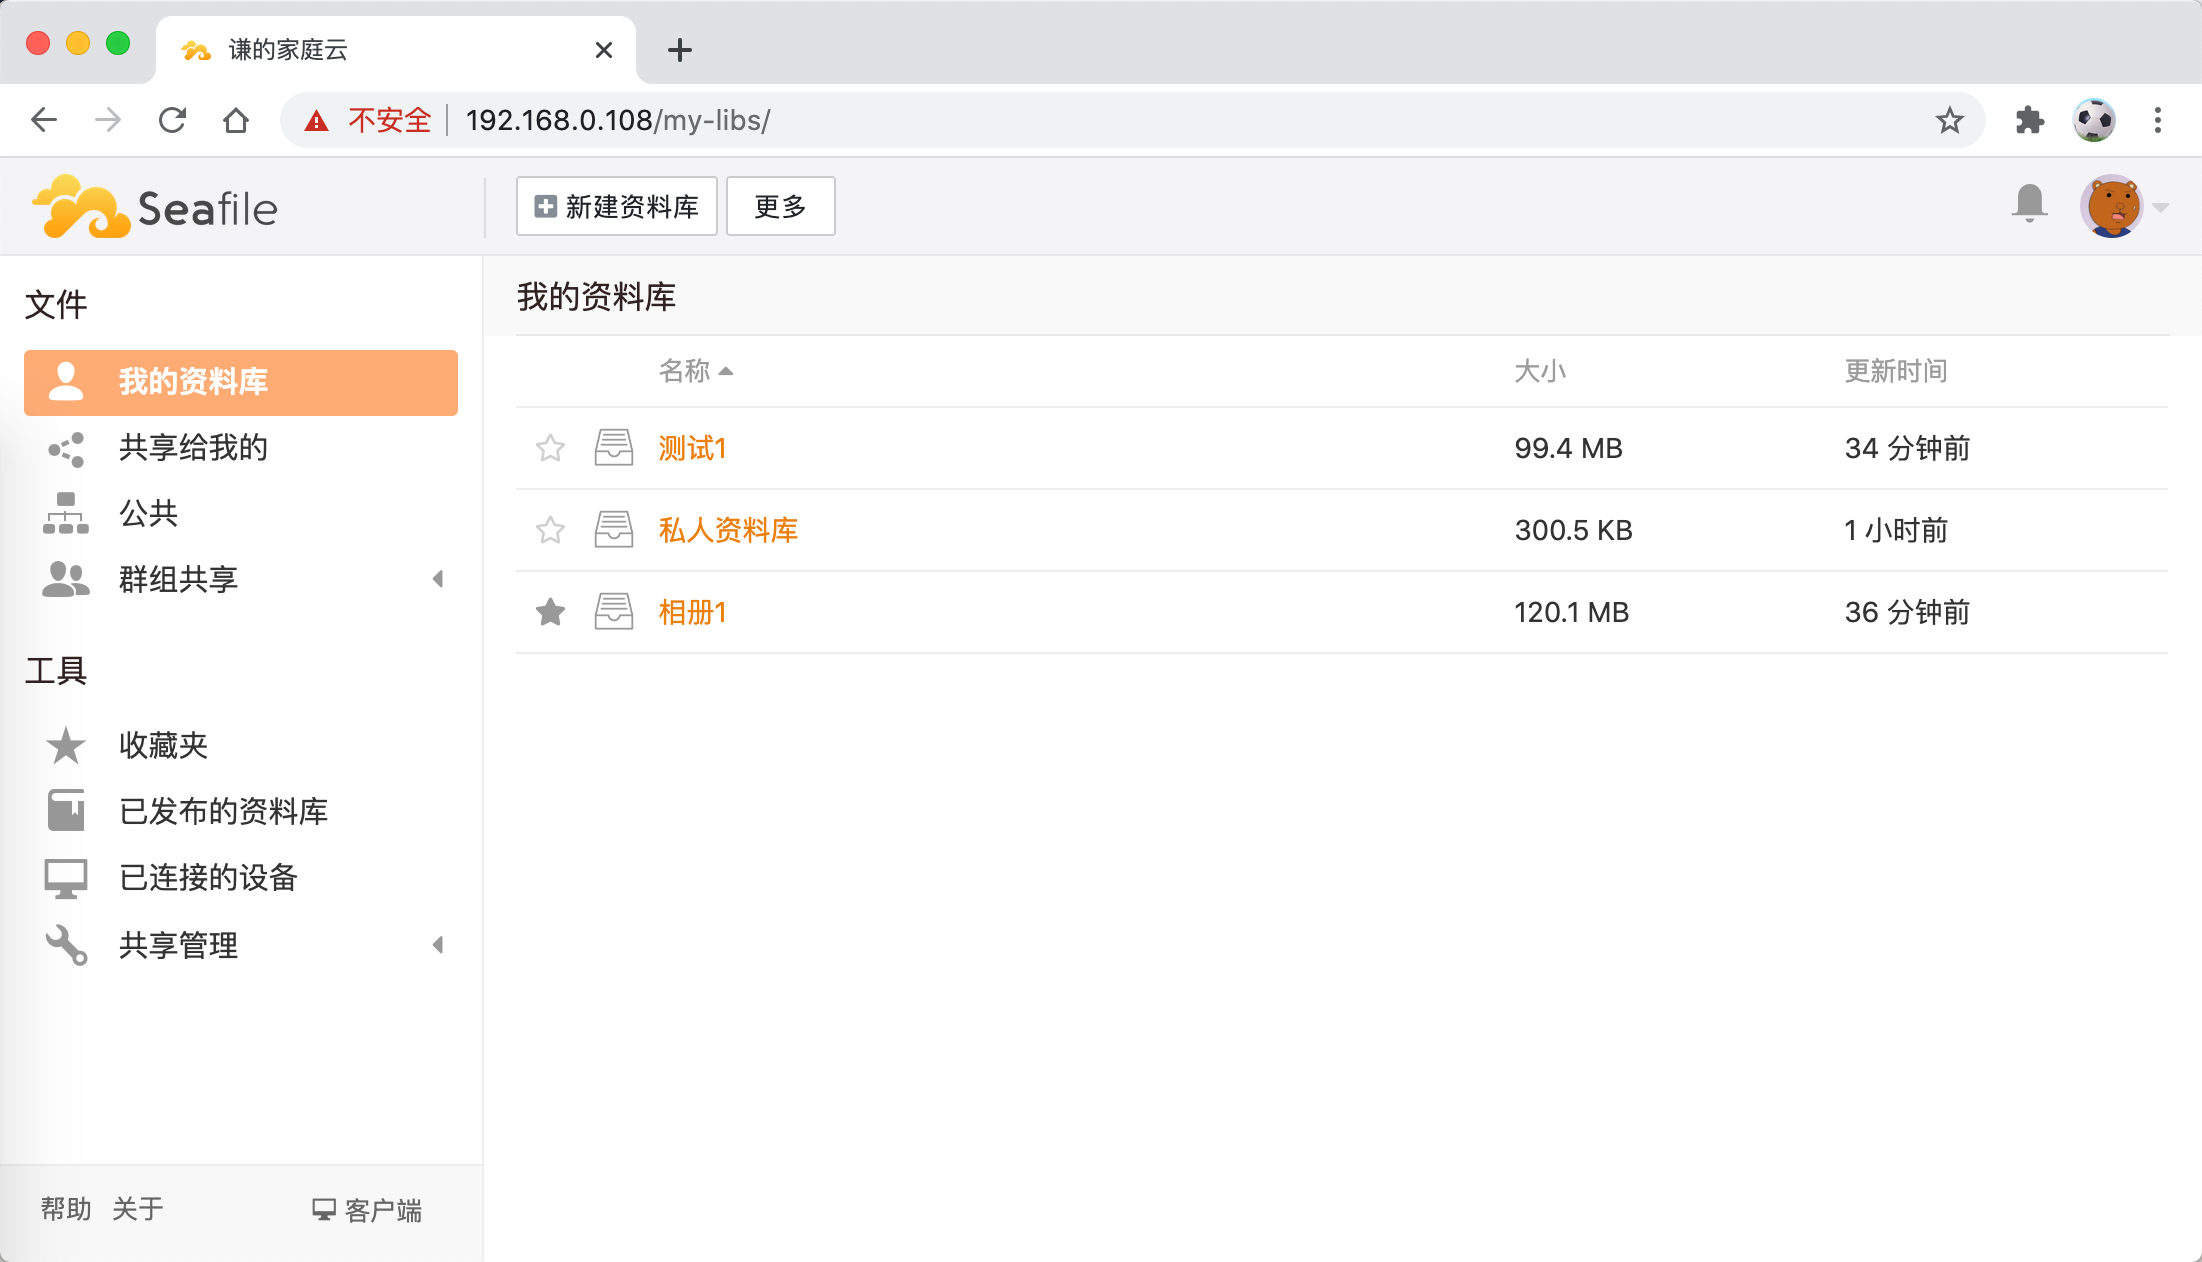
seafile软件展示
seafile是一个比较好的家庭私有云解决方案,一定程度上可以代替百度云。
在树莓派上搭建一套seafile,家人可以把照片、视频、文档传上去,走路由器内网,上传、下载速度甩百度云几条街。
打电信客服电话10000申请一个固定ip地址,再在天翼网关和无线路由器上做好端口转发,同时设置ip和mac地址绑定,即可将树莓派的端口映射到外网,这样不在家也可以访问seafile上的文件。
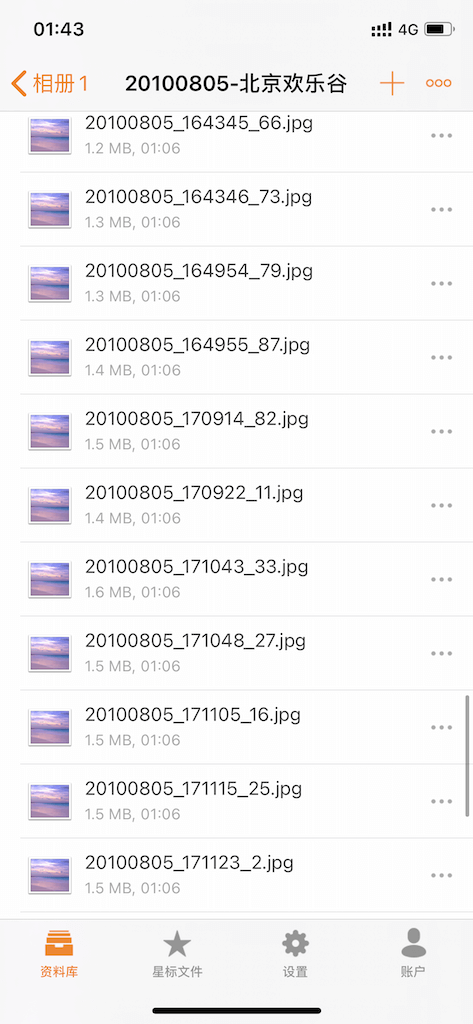
安装完成效果图:
手机端: